DPTOOL Brake Line Flaring Tool Kit, 45 Degree Single, Double
DPTOOL Brake Line Flaring Tool Kit, 45 Degree Single, Double and Bubble Flares, Brake Line and Tubing Flaring Tool for 3/16″, 1/4″, 5/16″, 3/8″ and 4.75mm Tubing, Brake Flare Tool for Steel Metal Tube
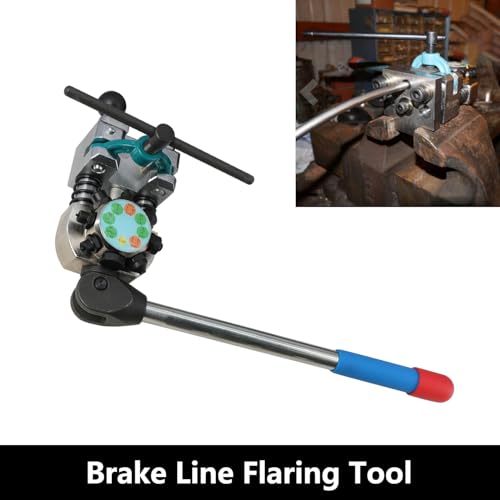
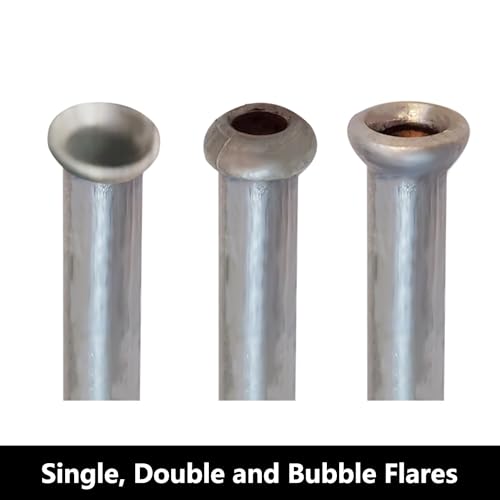
- Multi Purpose Flaring Tool: This is a multi-functional brake line flaring tool. Used to create 45-degree single, double and bubble brake flares on 304 stainless steel, steel and soft metal tubing in a short time. It produces flares of high quality and accuracy that do not lead to subsequent leaks in hydraulic or brake lines, making it a must-have brake flaring tool for the DIY or mechanic
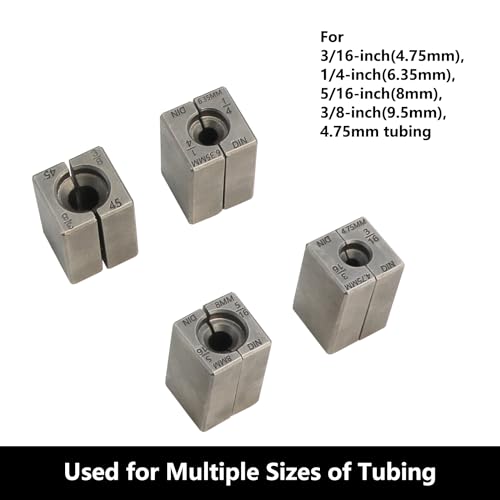
- Wide Application: This flaring tool can be used with 3/16", 1/4", 5/16", 3/8" and 4.75mm diameter lines, Suitable for automotive brake lines, transmission cooler lines and fuel lines and more
- Professional Brake Flaring Tool: Made of high quality steel and heat-treated and oxidized, it is extremely hard, durable and not easy to be damaged; at the same time, it has been professionally designed and rigorously tested to be highly accurate and stable, and it can produce many types of perfect flares in a short period of time, it is professional brake line and tubing flaring tool
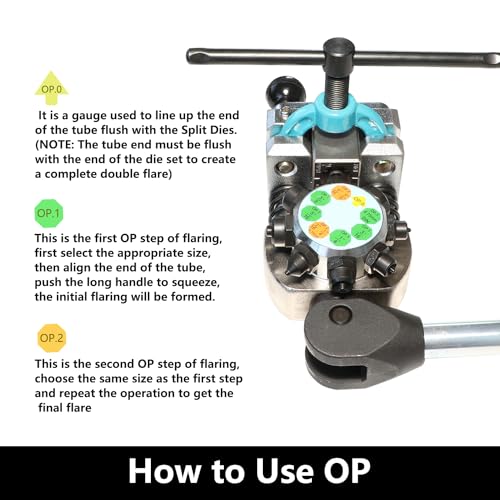
- Easy to Make Perfect Flares: First, select the flat face die, place the tool in a secure vise, tighten the clamps so they do not move; Second, loosen the clamps, select the desired parting size, insert the die into the rectangular recess in the base of the tool, place the tube between the two halves of the die; Then, turn the clamps back to their original position, OP.0 is aligned with the port of the tube, push the OP.0 to press it into the port of the tube; Finally, select the desired, select the desired size of reaming cone OP.1, align the tube port, turn the handle and press it into the tube port, then, select the desired size OP.2, repeat the operation, and you can easily complete flare
- Tips for Use: Before doing a flare, deburr the inside and outside of the tubing to ensure that metal shavings and impurities are removed from the inside and outside of the tubing. Then, apply a small amount of anti-seize to the end of the cut tubing to prevent problems when squeezing. Also, it can be added a little oil to the flaring cones (OP.1 and OP.2). Finally, it is a matter of taking care to put the appropriate fittings on the ends of the tubing, with the flared ends facing outward
Wide Application:
- This flaring tool can be used with 3/16", 1/4", 5/16", 3/8" and 4.75mm diameter lines
- Used for original steel, stainless steel, and soft metal tubing
- Suitable for automotive brake lines, transmission cooler lines and fuel lines and more
Professional Brake Flaring Tool
Function- Used to create 45-degree single, double and bubble brake flares on 304 stainless steel, steel and soft metal tubing in a short time
- This brake pipe flaring tool has been professionally designed and rigorously tested to be highly accurate and stable, and it can produce many types of perfect flares in a short period of time, it is professional brake line and tubing flaring tool
- Made of high quality steel and heat-treated and oxidized, it is extremely hard, durable and not easy to be damaged; at the same time
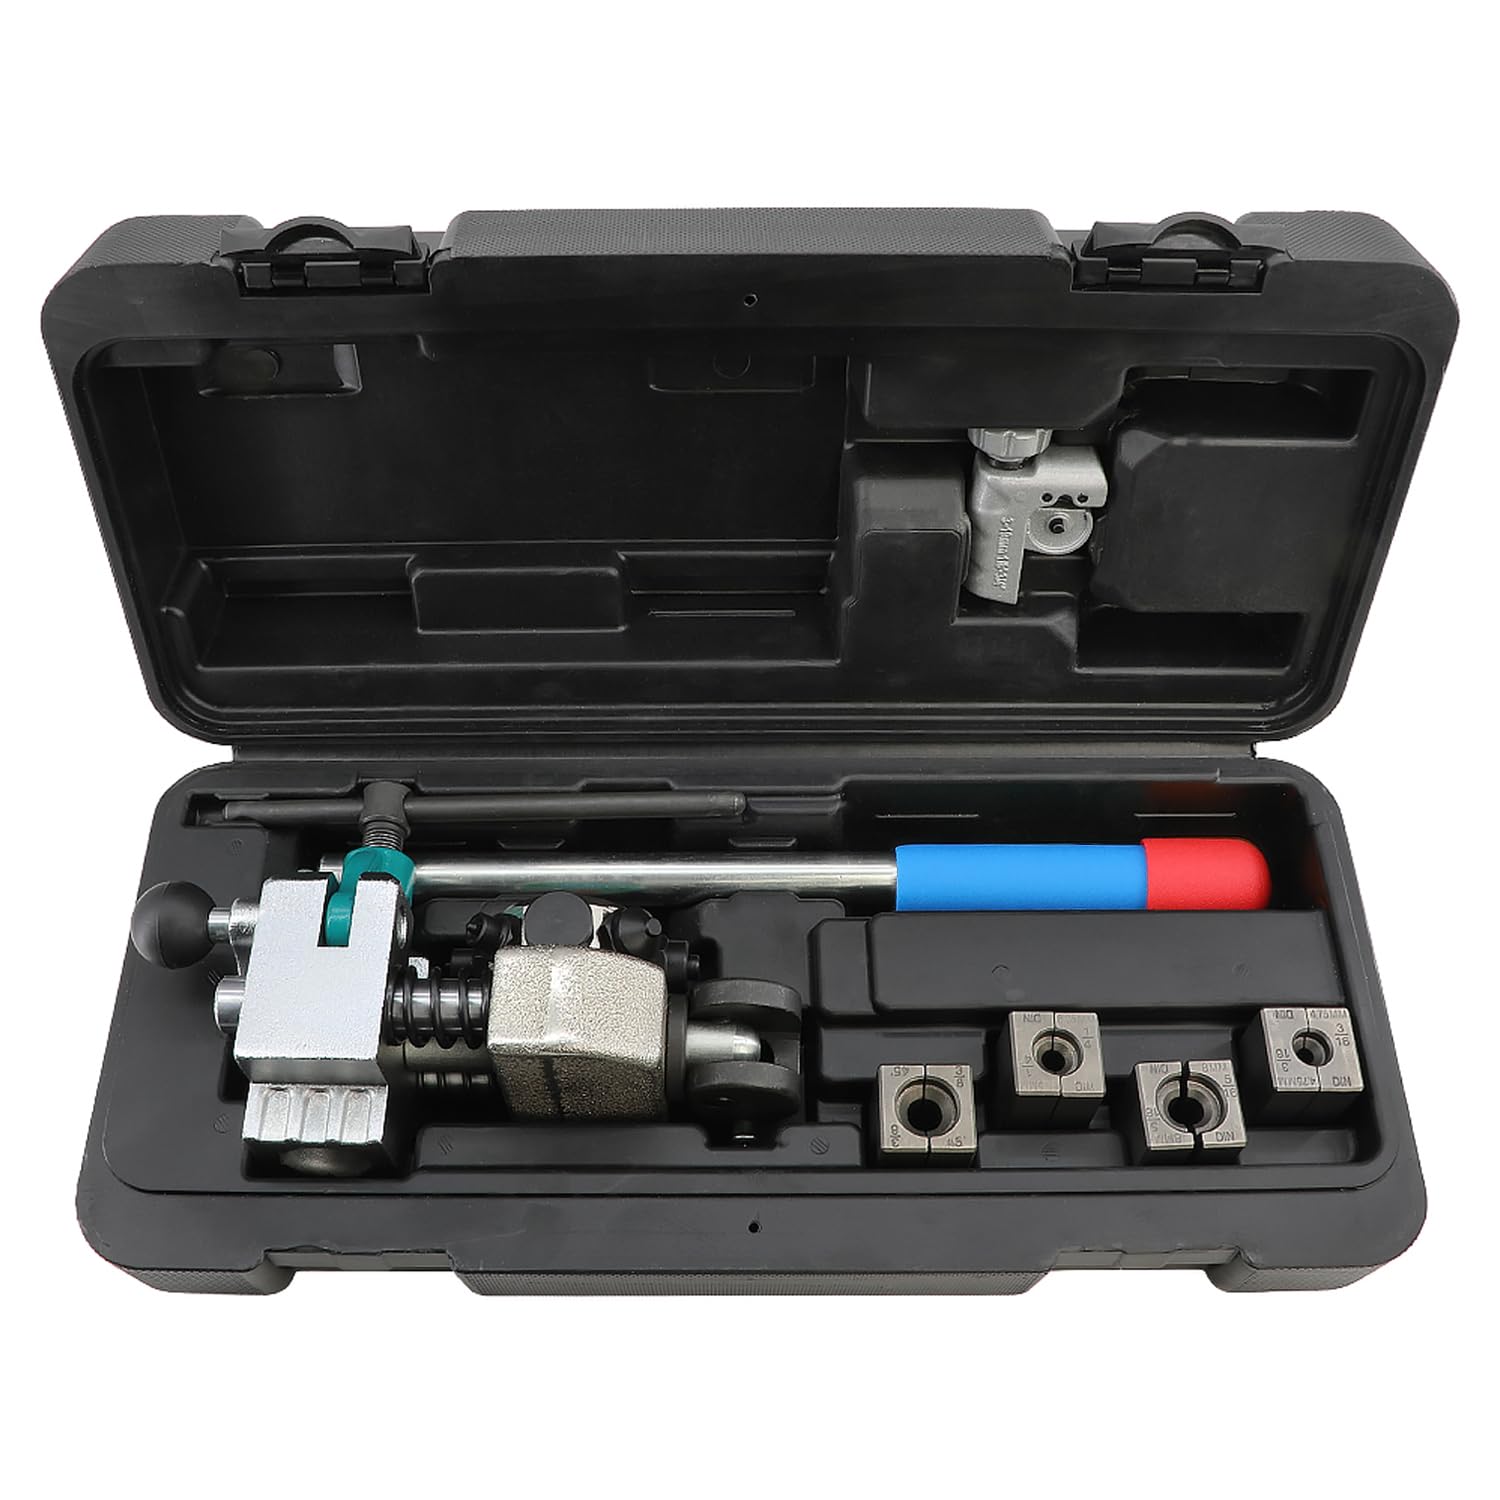
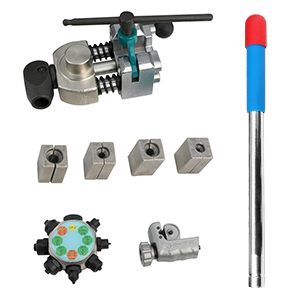
Package Include
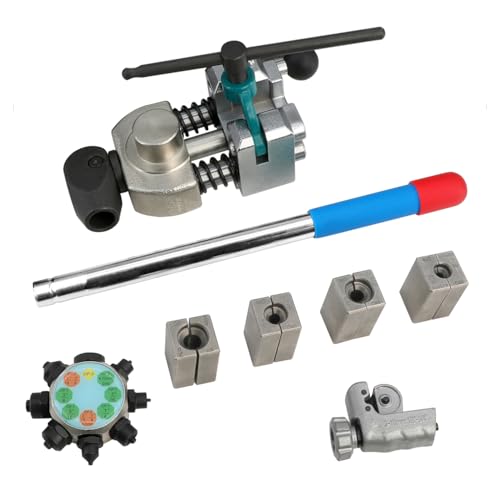
- Brake Flaring Tool
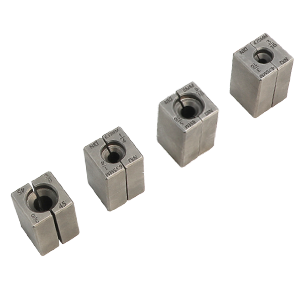
- 3/16”, 1/4”, 5/16”, 3/8” and 4.75mm Split Dies
- Rotating Die Head
- Lever Handle
- 3-19mm 1/8''-3/3'' Flare Separation Tool
- Instruction Manual
- A Portable Case
Brake Flaring Tool
Just need to get ready
| A Variety of Split Dies
| Flare Separation Tool
|
Preparing Tubing
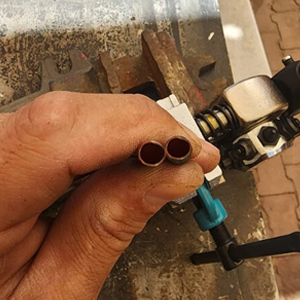
- Square cut tube ends
- Burr the tube inside and out, making sure that metal shavings have been removed from the inside and outside of the tube
- Apply a small amount of anti-seize compound to the cut tube ends.
- You can add a little oil to the reaming cones (OP.1 and OP.2)
- Use a tool to bend the tubing to shape, leaving approximately 1.5 inches of clearance
- Place the appropriate fittings over the ends of the tubing, with the flared ends facing outward
How to Operate
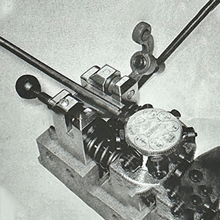
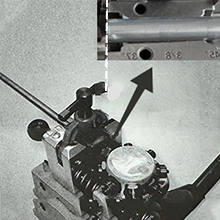
Step 11. Place the tool in a secure vise and hold it in place. 2. Place the approximately 11-inch long handle into the hole in the lever base and make sure it is fully seated. 3. Pull out the black ball-end clevis pin and release the upper vise. | Step 21. Select the desired parting size and insert the die into the recess in the tool base. 2. The beveled countersunk end faces the flared tapered end, with the back end next to the step. 3. Place the tube between the two halves of the mold, with the tube end flush with the flared end of the mold, not beyond the | Step 31. Place the other flare die size on top of the tube, close to the lower flare die 2. Rotate the die head so that the flat die OP.O faces the end of the tube and use the OP.O die as a stop gauge to move the lever inward toward the fuselage. (Note: Tube end must be flush with end of die) 3. Turn the clamp back to its original position, push the clamp pin through the hole and back into the tool until the black knob is against the tool body. 4. Attention: Tighten the "T" handle above the arc clamp to hold the parting mold and tube in place and prevent stability problems with subsequent operations. | Step 41. Check arc clamps for tightness 2. Re-advance the flat die OP.0 at this point into the end of the tube so that the end of the tube is flush with the end of the die set to form a complete flare. |
Step 51. Select the OP.1 size that fits your pipe 2. Rotate the flat die so that the OP.1 flaring die is facing the pipe mouth. 3. Move the lever against the body of the tool, applying enough force to create a flare until it stops. 4. NOTE: At this point, a bubble flare has been formed. To create a 45 degree flare, continue with the following steps. | Step 61. Rotate the original OP.1 die head and select die head OP.2 of the same size as OP.1 2. Rotate the OP.2 die head towards the end of the tube. 3. Move the long lever towards the tool body with appropriate force to form the inverted portion of the flare, until it stops. 4. At this point, a complete flare is formed. | Step 71. Turn the handle screw above the arc retainer, pull out the black ball retaining pin, then remove the arc device, remove the split dies. 2. Finally, you can take out the completed flared tube |
| SKU: | B0D22F5GBD |
| Weight: | 8.2 pounds |
| Dimensions: | 14.17 x 6.29 x 3.54 inches |
| Brand: | DPTOOL |
| Model: | HFLAR3 |
| Manufacture: | DPTOOL |
| Origin: | China |
Product Description

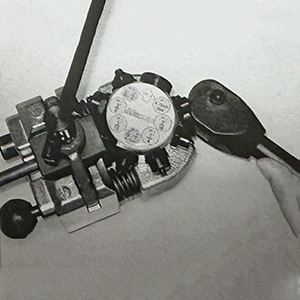
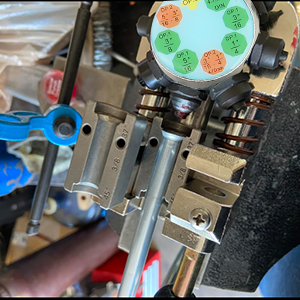
Step 5
1. Select the OP.1 size that fits your pipe
2. Rotate the flat die so that the OP.1 flaring die is facing the pipe mouth.
3. Move the lever against the body of the tool, applying enough force to create a flare until it stops.
4. NOTE: At this point, a bubble flare has been formed. To create a 45 degree flare, continue with the following steps.
Step 6
1. Rotate the original OP.1 die head and select die head OP.2 of the same size as OP.1
2. Rotate the OP.2 die head towards the end of the tube.
3. Move the long lever towards the tool body with appropriate force to form the inverted portion of the flare, until it stops.
4. At this point, a complete flare is formed.
Step 7
1. Turn the handle screw above the arc retainer, pull out the black ball retaining pin, then remove the arc device, remove the split dies.
2. Finally, you can take out the completed flared tube
